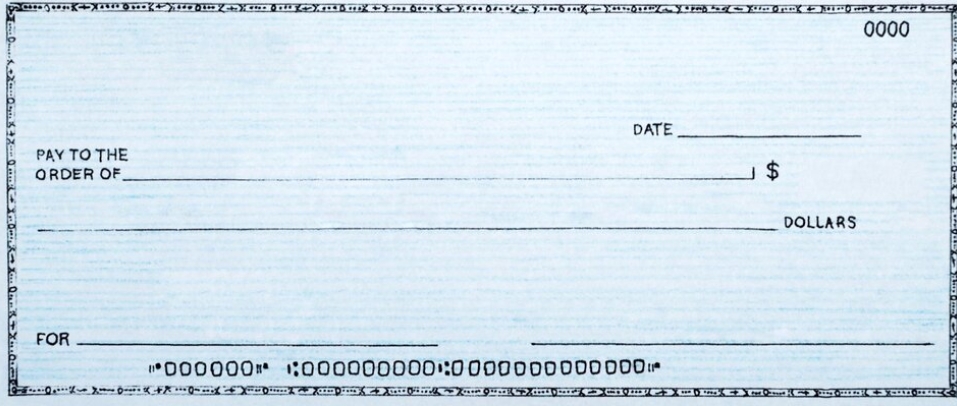
In the realm of business finance, maintaining accuracy and efficiency is paramount. QuickBooks Online offers a powerful solution for managing finances, including the streamlined process of printing checks.
Mastering check printing in QuickBooks Online, facilitated by PrintBoss, can be a time-saving and error-reducing endeavor, whether you’re paying vendors, employees, or bills. Here’s a comprehensive guide to help you simplify your payment workflow.
1. Set Up Bank Accounts
Before you begin printing checks in QuickBooks Online, ensure that your bank accounts are properly set up and linked to your QuickBooks account. This step is crucial for accurately tracking transactions and maintaining financial records.
Navigate to the “Banking” tab in QuickBooks Online to add and connect your bank accounts securely.
2. Enter Payee Information
To print a check, you’ll need to have the payee’s information stored in QuickBooks Online. If you haven’t already done so, set up vendors or employees as payees by entering their details, including name, address, and payment preferences.
This step ensures that the necessary information is readily available when processing payments.
3. Record Transactions
Once your payees are set up, record the transactions in QuickBooks Online that correspond to the payments you intend to make. This may include entering bills, recording expenses, or creating payroll transactions.
QuickBooks automatically updates your accounts and financial statements, providing real-time insights into your business’s financial health.
4. Verify Payment Details
Before printing checks, double-check the payment details to ensure accuracy. Review the payee information, payment amount, and transaction details to prevent errors that could lead to payment discrepancies or reconciliation issues later on.
QuickBooks Online provides comprehensive tools for reviewing and editing transaction details as needed.
5. Print Checks
With the payment details verified, it’s time to print the checks. Navigate to the “Expenses” or “Payroll” tab in QuickBooks Online, depending on the type of payment you’re making. Select the transactions you wish to pay, then choose the “Print Checks” option.
QuickBooks prompts you to select the appropriate check stock and printer settings before generating the checks.
6. Review and Sign Checks
After printing the checks, review each one to ensure accuracy and completeness. Verify that the payee information, payment amount, and memo (if applicable) match the corresponding transaction details in QuickBooks Online.
If necessary, sign the checks manually before distributing them to recipients or mailing them out.
7. Track Payment Status
Keep track of the payment status for each transaction in QuickBooks Online. Mark payments as “Printed” or “Sent” to indicate that the checks have been processed and are en route to the recipients.
This step helps maintain an organized payment history and simplifies reconciliation when reconciling bank accounts.
8. Reconcile Accounts
Periodically reconcile your bank accounts in QuickBooks Online to ensure that all transactions are accurately recorded and accounted for. Compare your bank statements with the transactions in QuickBooks to identify any discrepancies or missing entries.
Reconciliation helps maintain the integrity of your financial records and minimizes the risk of errors.
In Conclusion
Printing checks in QuickBooks Online offers a straightforward and efficient way to manage payments and track financial transactions. By following these steps, you can master the process of printing checks and streamline your payment workflow.
From setting up bank accounts to reconciling transactions, QuickBooks Online provides the tools and features you need to stay on top of your business finances. Simplify your payment processes and gain greater control over your finances with QuickBooks Online.


